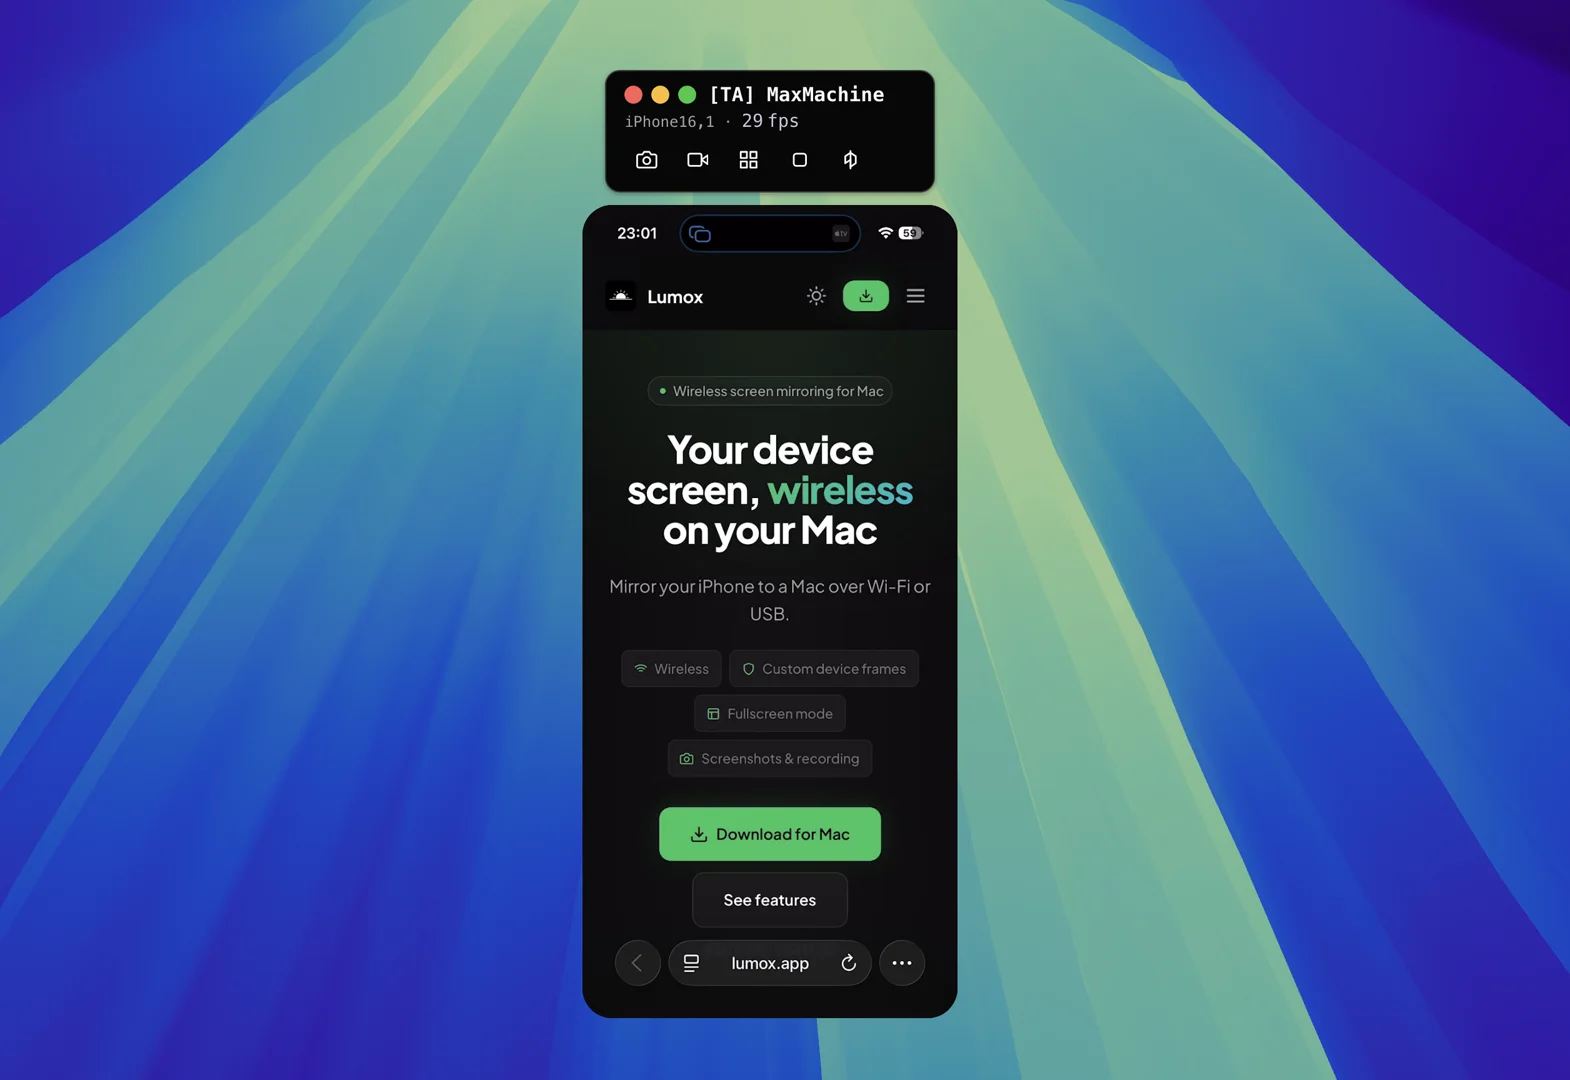
Screen sharing in a video call is easy when the thing you want to show is already on your Mac. It is harder when the thing you need to show is a real iPhone or iPad: a prototype running on device, a customer support flow, a mobile checkout, a bug that only reproduces on hardware, or a demo app that should be presented exactly as users see it.
A common workaround is to point a webcam at the phone. It works in an emergency, but the result usually has glare, shaky hands, bad focus, and half of your desk in frame. A cleaner option is to use Lumox as the bridge: mirror the device to your Mac first, then share the Lumox window in Google Meet.
The tutorial below uses Google Meet because it is common and simple, but the same idea works with almost any conference tool: Zoom, Microsoft Teams, Slack huddles, Discord, Around, Webex, or anything else that can share a window from your Mac.
The mental model: Lumox turns your iPhone or iPad into a normal Mac window. Once it is a Mac window, every meeting app knows how to share it.
When this workflow is useful
Sharing a mirrored device in a call is useful any time you want people to see the real mobile experience without asking them to install anything or join from a phone themselves. A few examples:
- Product demos: show a mobile app to investors, customers, teammates, or users during a live call.
- Design reviews: review spacing, gestures, dark mode, and responsive states on real hardware.
- Support sessions: walk a customer through a flow while showing the exact taps on a phone.
- Bug reproduction: demonstrate a device-only bug to engineers without sending a screen recording first.
- Remote QA: compare what happens on an iPhone and an iPad while everyone watches the same call.
For many teams, this becomes the fastest way to make mobile work visible in daily standups, launch reviews, and customer calls.
What you need
- A Mac with Lumox installed.
- An iPhone or iPad on the same Wi-Fi network as the Mac.
- A Google Meet call, or another video call app that supports window sharing.
- Screen sharing permission enabled for your browser or meeting app in macOS.
You do not need to install anything on the iPhone or iPad. The device uses the built-in Screen Mirroring option in iOS and iPadOS; Lumox receives that mirror on the Mac.
Step-by-step: share Lumox in Google Meet
-
Open Lumox on your Mac
Launch Lumox before the meeting starts if you can. Keeping it open makes your Mac available as a mirroring target for nearby iPhones and iPads on the same network.
-
Mirror your device to Lumox
On the iPhone or iPad, open Control Center and tap Screen Mirroring. Choose your Mac from the list. After a second or two, the device appears as a window in Lumox.
If this is the first time connecting, iOS may ask for a code shown on your Mac. Enter it once and the devices will remember the pairing.
-
Prepare the Lumox window for the call
Resize the mirror so it is easy to see. If you only need the phone, keep a simple device window. If you want a polished presentation, turn on a device frame, choose a clean background, or use fullscreen mode for a more deliberate composition.
For support calls and design reviews, a normal window is often best because you can keep notes or the meeting chat visible beside it.
-
Join your Google Meet call
Open Google Meet in your browser and join the meeting. If macOS asks for screen recording permission for the browser, approve it in System Settings → Privacy & Security → Screen & System Audio Recording, then restart the browser if macOS asks you to.
-
Share the Lumox window
In Google Meet, click Present now, choose A window, then select the Lumox window that contains your device. Sharing a window is usually cleaner than sharing the entire screen because participants only see the phone, not your desktop, notifications, or private tabs.
-
Run the demo on the real device
Drive the iPhone or iPad with your hands as normal. Everyone in the meeting sees the live mirrored view through Google Meet. When you are done, stop presenting in Meet or stop mirroring from Control Center on the device.
Tips for a better call
Share a window, not the whole display
In Google Meet, A window is usually the right choice. It keeps the call focused and prevents accidental sharing of Slack messages, email notifications, browser tabs, or the meeting itself.
Use Do Not Disturb on the device
Your mirrored device screen is live. If a message or notification appears on the iPhone, everyone in the call can see it. Turn on Focus → Do Not Disturb before presenting, and consider hiding sensitive widgets or personal accounts.
Keep the phone awake
If the iPhone locks, the mirror pauses. For longer demos, temporarily set Settings → Display & Brightness → Auto-Lock to a longer duration, or tap the screen occasionally while you speak.
Slow down your gestures
What feels normal in your hand can feel fast on a compressed video call. Move a little slower than usual, pause after important taps, and narrate where you are going before you do it. The call will feel much easier to follow.
Use multi-device mode when comparing screens
If you need to show an iPhone and iPad side by side, connect both devices to Lumox and share the window or fullscreen composition. This is useful for responsive design reviews, QA sessions, and product demos where the same feature behaves differently across screen sizes.
Nice presentation trick: use Lumox fullscreen mode for planned demos and window mode for working sessions. Fullscreen looks polished; window mode is easier when you need meeting notes and chat nearby.
This works with any conference tool
Google Meet is only one example. Lumox does not depend on a Google-specific integration. It creates a regular Mac window, and meeting tools are already built to share Mac windows. That means the same workflow works in:
- Zoom: click Share Screen, choose the Lumox window, then share.
- Microsoft Teams: choose Share, then pick the Lumox window under Window.
- Slack huddles: click the screen share button and select the Lumox window.
- Discord: share the Lumox application window into the voice channel or call.
- Webex, Around, or other tools: use their normal window-sharing option.
The rule is simple: if the app can share a Mac window, it can share Lumox.
Troubleshooting
The Lumox window does not appear in Google Meet
Make sure Lumox is open and not minimized. Some browsers only list visible windows in the sharing picker. If it still does not show up, leave the sharing dialog, bring Lumox to the front, and try again.
Google Meet says it needs screen recording permission
On macOS, browsers and meeting apps need permission before they can share windows. Open System Settings → Privacy & Security → Screen & System Audio Recording, enable the browser or app you use for the call, then restart it.
The iPhone cannot find the Mac
Confirm that both devices are on the same Wi-Fi network. Guest networks, office VLANs, VPNs, and personal hotspots can prevent iOS from discovering nearby receivers. If discovery still fails, restart Wi-Fi on the phone and reopen Lumox.
The shared video looks blurry
Video calls compress screen shares, especially when bandwidth drops. Resize the Lumox window larger before sharing, avoid tiny text, and keep the demo focused on one device unless you specifically need a side-by-side comparison.
Wrapping up
The easiest way to show a mobile device in a call is to avoid special meeting integrations entirely. Mirror the device to your Mac with Lumox, share the Lumox window, and keep presenting like you would with any other app.
For quick support calls, use a simple window. For polished sales demos or product reviews, switch on device frames, backgrounds, fullscreen, or multi-device mode. Either way, the person on the other side of the call sees the real mobile experience, live.